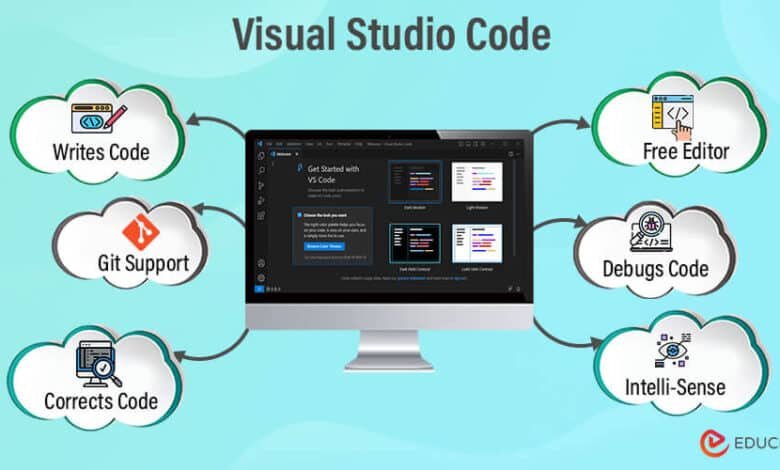
How to Run HTML Code in Visual Studio: A Step-by-Step Guide Visual Studio is a leading integrated development environment (IDE) used for developing a variety of applications. While it’s most commonly associated with languages like C#, C++, and Python, it also offers powerful support for web development. If you are learning web design or working on a web project, knowing how to run HTML code in Visual Studio can streamline your workflow. This guide will walk you through the process, ensuring you get the most out of this versatile studio.
Why Choose Visual Studio for HTML?
Visual Studio, often just called “the studio,” provides a rich environment for web development.
- Comprehensive Tools: Visual Studio offers features like IntelliSense, live preview, and error detection that can make writing HTML easier.
- Integrated Environment: You can work on HTML, CSS, and JavaScript in one place, which helps maintain consistency across your project.
- Debugging Capabilities: The studio’s robust debugging tools can help you troubleshoot and refine your code effectively.
Setting Up Visual Studio
Before you can run HTML code in Visual Studio, you need to ensure that the studio is properly set up. Follow these steps:
- Download and Install Visual Studio:
- Visit the Visual Studio website and download the latest version. There are several editions, but the Community edition is free and sufficient for most users.
- Run the installer and choose the “Web Development” workload. This will ensure you have all the necessary tools for HTML, CSS, and JavaScript development.
- Launch Visual Studio:
- After installation, open Visual Studio from your desktop or start menu.
Creating a New HTML Project
Once Visual Studio is running, you’ll need to create a new project to start working on your HTML code:
- Start a New Project:This will open a list of project templates.
- Select the HTML Project Template:
- In the project templates search bar, type “HTML” or “Web.” Choose the “HTML Application” template for a basic HTML project. If you need server-side capabilities, you might choose “ASP.NET Web Application.”
- Configure Your Project:
- Click “Create” to initialize your project environment.
Writing Your HTML Code
- Open the HTML File:
- Visual Studio will create an HTML file by default. If not, right-click on your project in the Solution Explorer, select “Add,” then “New Item,” and choose “HTML Page.”
- Edit Your HTML:
- Enter your HTML code into the editor. Visual Studio provides features like syntax highlighting and code suggestions to make this process easier. How to Run HTML Code in Visual Studio: A Step-by-Step Guide
Running Your HTML Code
To view your HTML code in action, you need to run it:
- Choose Your Browser:
- Visual Studio allows you to select which browser you want to use for testing. Look at the toolbar at the top of the studio window for a dropdown menu that lets you choose your browser.
- Start Debugging:
- Click the green “Start” button or press
F5. This will launch your default browser and display your HTML page.
- Click the green “Start” button or press
- View and Test:
- You can now see how your HTML page looks. Make changes in Visual Studio and refresh the browser to see updates.
Debugging and Testing HTML in Visual Studio
Even though HTML is relatively straightforward, debugging can still be essential, especially when integrating with CSS and JavaScript:
- Use the Browser’s Developer Tools:
- Right-click on any part of your page and select “Inspect” to open the browser’s developer tools. This lets you view and modify HTML and CSS on the fly.
- Check for Errors:
- The console in your browser’s developer tools will show any errors or warnings related to your HTML code.
- Live Preview:
- For a more dynamic workflow, consider using extensions like Live Server. This provides live reloading, so you can see changes immediately without refreshing manually.
Advanced Features in Visual Studio
Visual Studio offers several advanced features that can enhance your HTML development experience:
- IntelliSense:
- As you type, Visual Studio’s IntelliSense provides code suggestions and auto-completions. This helps ensure that your HTML syntax is correct and improves productivity.
- Code Snippets:
- Visual Studio includes code snippets for common HTML patterns. For example, typing
htmland pressingTabcan auto-generate a basic HTML structure.
- Visual Studio includes code snippets for common HTML patterns. For example, typing
- Extensions:
- Explore the Visual Studio Marketplace for extensions that can add functionality to your HTML development. Extensions like “Prettier” for code formatting or “Emmet” for rapid HTML and CSS writing can be very useful. How to Run HTML Code in Visual Studio: A Step-by-Step Guide
Tips for Efficient HTML Development in Visual Studio
- Organize Your Code:
- Keep your HTML, CSS, and JavaScript files organized in separate folders.
- Use Version Control:
- Integrate your project with a version control system like Git. Visual Studio has built-in support for Git, allowing you to track changes and collaborate with others.
- Explore Shortcuts:
- Familiarize yourself with Visual Studio shortcuts to speed up your development process. For example, triggers IntelliSense.
Conclusion
Running HTML code in Visual Studio is straightforward and offers many advantages. The studio provides a rich set of tools for writing, testing, and debugging HTML code. By setting up your project correctly and utilizing Visual Studio’s features, you can streamline your web development process and improve productivity.
Whether you’re a beginner or an experienced developer, Visual Studio’s capabilities can help you create and manage your HTML projects efficiently. Explore the studio’s features, leverage its debugging tools, and take advantage of its extensions to enhance your web development experience.
Now that you know how to run HTML code in Visual Studio, you’re ready to dive into your next web project with confidence. Enjoy coding in your studio!
Feel free to tweak any sections or add more specific examples to better fit your audience or blog style!


